 1.
Long pan-head screw, nut and compression lockwasher
1.
Long pan-head screw, nut and compression lockwasherPutting The Shell Together
Fortunately, it's not hard. You will need these tools and materials that don't come with the kit:
A GOOD #1 or #2 point Phillips Screwdriver. It doesn't have to be an Xcelite from my Stock List, but it should be a decent-quality tool that won't strip the heads of the screws.
An allen wrench for the tension adjustment screw.
A hammer and center punch
A small tube of contact cement for attaching the grommets and the tread material. Some acetone for prepping the surfaces.
A little sandpaper or Carborundum paper.
I presume that you have painted the base and the pedal to your liking.When you do your decorating, I'd suggest masking the three points where the grommets go, as well as the top of the pedal where you'll install the treadle material. That will give you best adhesion.
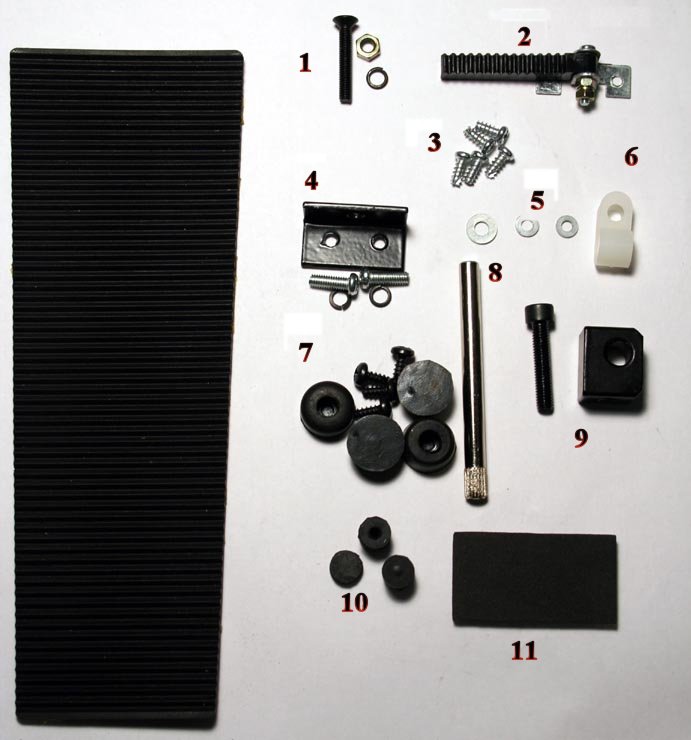
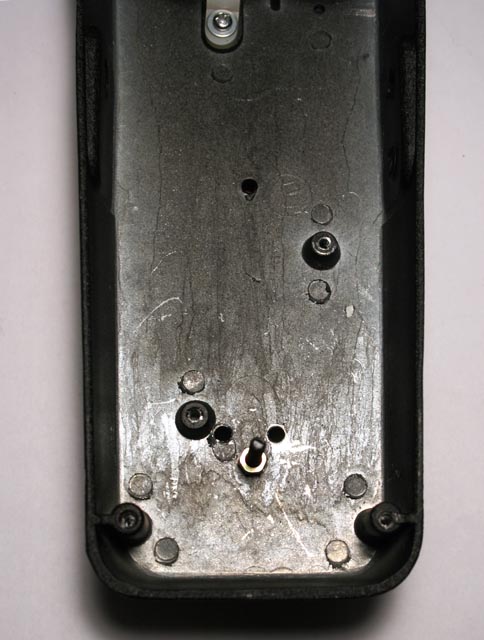
Make sure that you have all of the parts:
1.
Long pan-head screw, nut and compression lockwasher
2. Rack assembly
3. Self-tapping screws
4. Angle bracket, screws and compression lockwasher
5. One large and two small flat washers.
6. Tension clutch
7. Feet and screws
8. Bearing pin
9. Center pillow block and tension adjustment screw.
10. Bumpers: two top and one bottom.
11. Self-stick pad
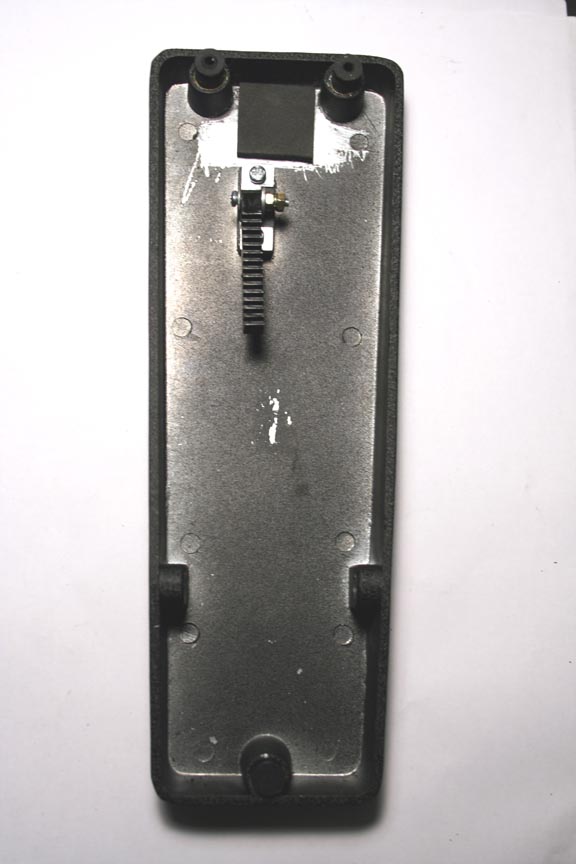
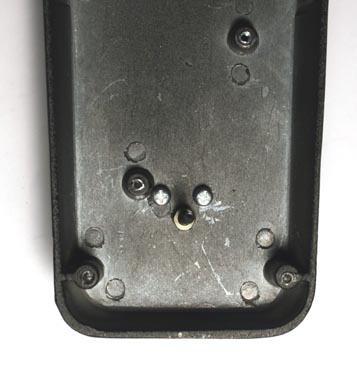
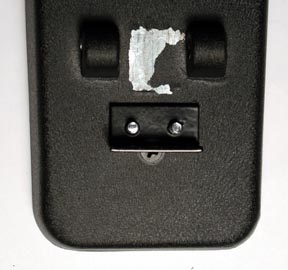
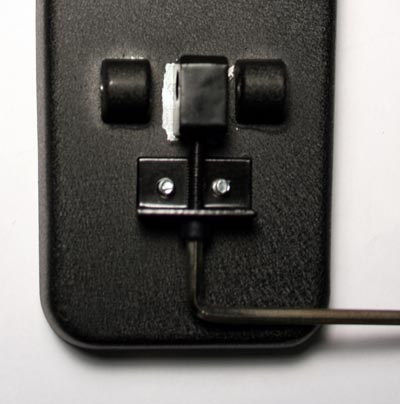
Using two self-tapping screws, bolt the rack assembly to its block. Be sure that the serrated side of the rack points toward the front of the pedal. Sand the area in front of the rack shiny and clean up with solvent. Cut the self-stick pad in half and install between the posts. Using contact cement, install the bumpers and the treadle material:
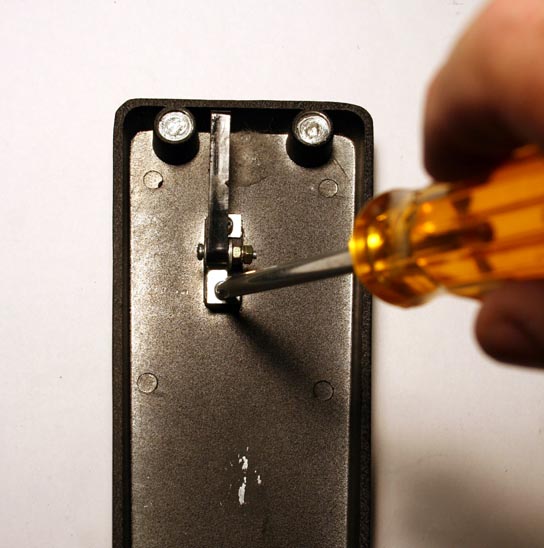
The pedal assembly is done. Using a self-tapping screw and the large flat washer, bolt the tension clutch in place. Don't tighten down completely, as you will want to be able to adjust this later. Then install the long pan-head screw with a compression lockwasher under the nut:
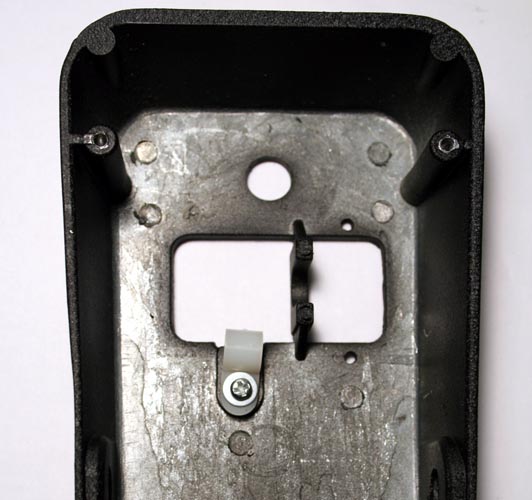
Install the angle bracket. Slip a compression lockwasher onto each screw. They enter from the underside of the chassis and go into the threaded holes of the bracket. Don't overtighten, or you'll strip the threads:
Mount the center pillow block. Slip the tension adjustment screw through the hole in the angle bracket and screw it into the threaded hole in the block. Using the allen wrench if necessary, tighten enough so that the center hole of the block lines up with the holes in the side pillow blocks. Now mount the pedal assembly to the base. From the left side of the pedal, insert the bearing pin and pass it through the pillow blocks:

CAREFULLY, so that you don't destroy your brand new paint job, tap the pin all the way in with a hammer and center punch. Tighten the tension adjustment screw a little more. Looks like a pedal now, right?
The remaining screws and two flat washers are to hold the circuit board. Onward to Wah-Wah land!
Regards
SD